So here it is - Day 2 of the Halloween tags. And this one comes with a tutorial!
Want to see all the tags in one place? Click here. Enjoy and come back tomorrow for another tag!
 Supplies
 - shipping tag, paper pad (this one is Spook Alley from Making Memories), ribbon, adhesive, Making Memories Slice, Glimmer Mist, cropadile, distress ink (spiced marmalade).

Start by gluing the shipping tag to the back side of the paper you would like to use. Cut the tag out.

Using the slice cut out bat shapes using the same patterned paper as the tag. You can use any die cut machine to do this or hand cut them if you are really talented! Cut them at different angles on the paper so that all your bats won't be flying at the same angle!

Adhere only the body of the bats to the tag - I lined my text on the bats up with the text on the paper (the exact words didn't line up) - leave the wings free and push up so they look like they are flying out of the text

Use distress ink to ink the edges of the tag and the wings of the bats - this helps them stand out a bit.

Cut a phrase out of patterned paper - ink the edges and adhere to the bottom of the tag.

Flip the tag over and cut the hole out with a hole punch

I sprayed the whole tag with glimmer mist at the end. I used old lace because it leaves a shimmer without adding color to the tag. I could have done this before adhering the bats but I didn't think of it until after - plus I like how the wetness of the glimmer mist causes the distress ink to bleed a bit. I used the heat tool to dry it

Add some orange ribbon and you are done! If you like my blog be sure to "follow me" with google friend connect - located on the top right side of the screen.


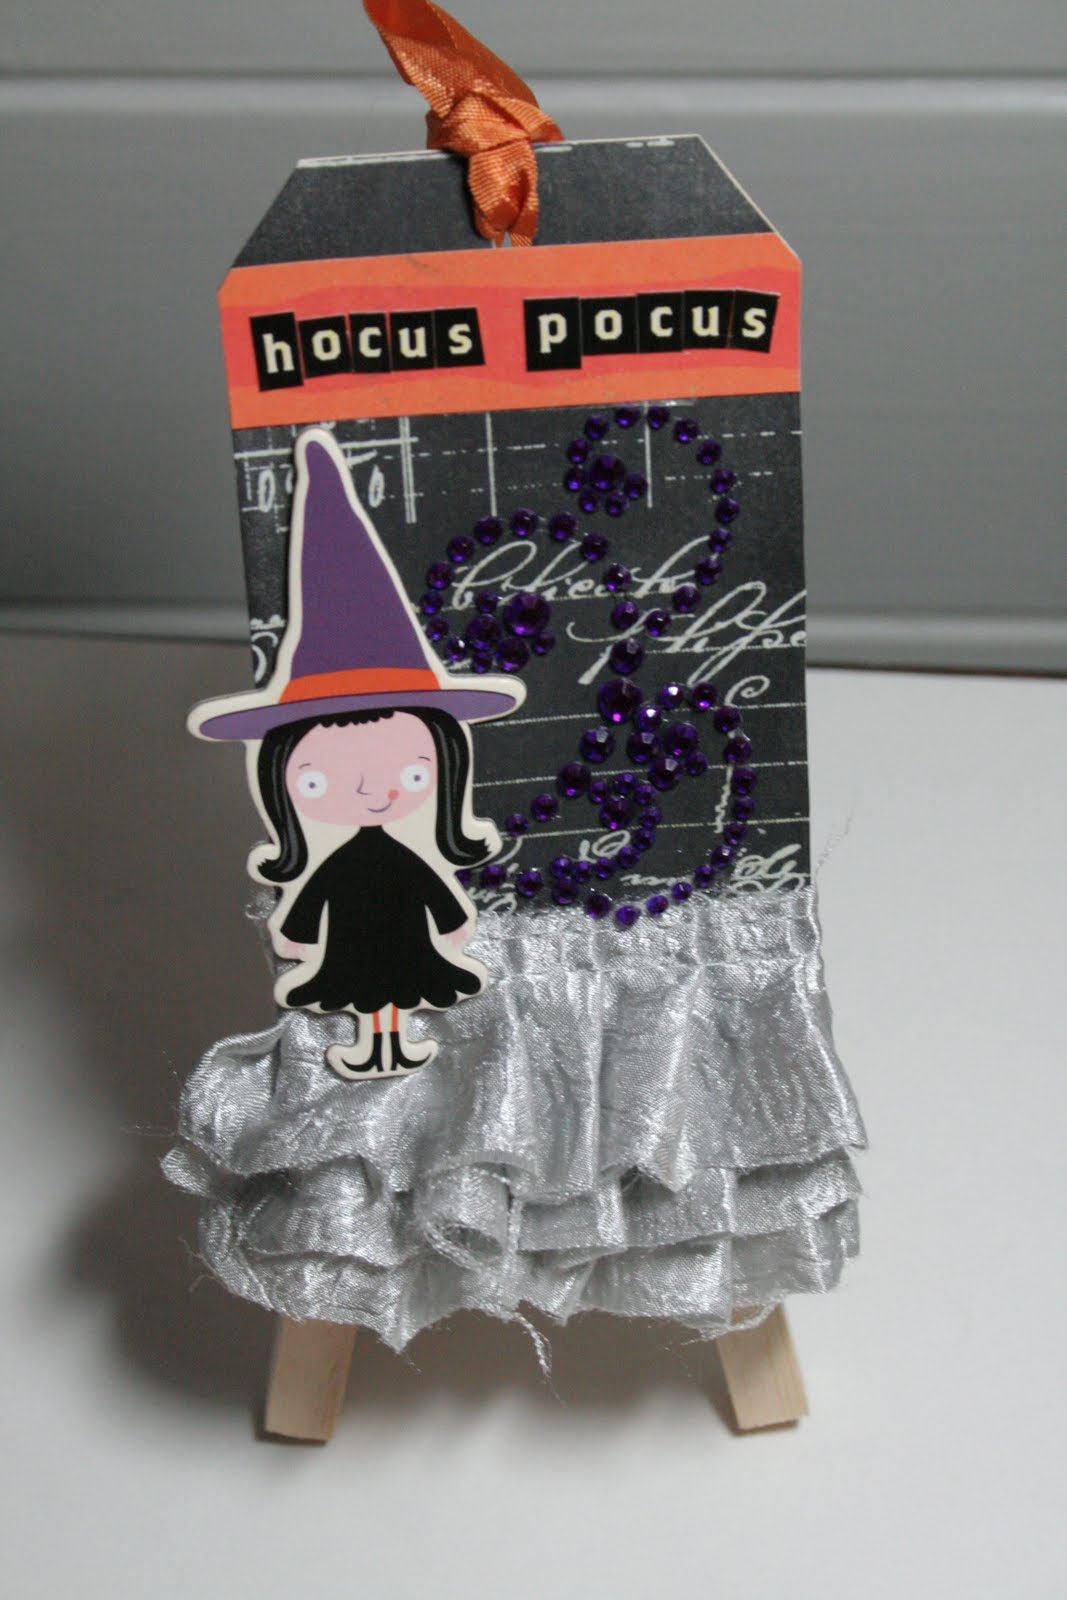 I was super excited to check the Cosmo Cricket blog today and see this Halloween tag posted on their blog! Seriously SUPER excited! You can check out their post and see lots of other wonderful inspiration here.
 Being that it's after midnight it's technically day 5 -so here it is - the last of the tags. Want to see all the tags from start to finish - click here.
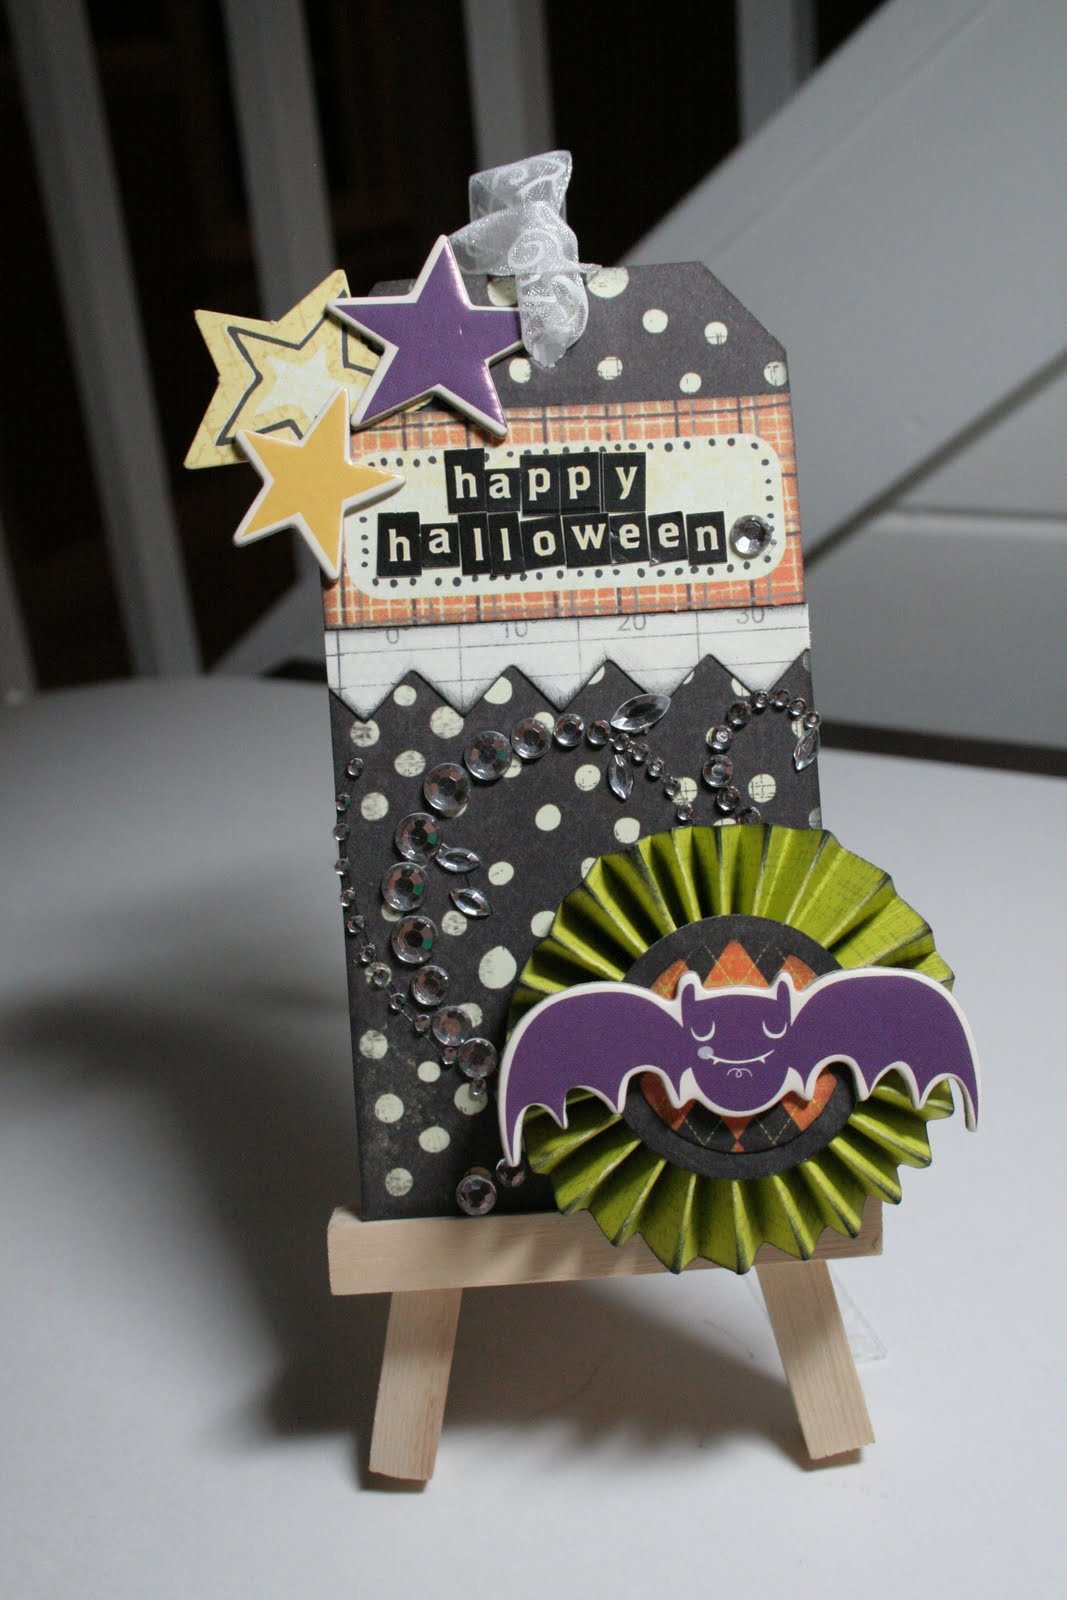 Here it is Day 3 - I thought when I started this project I was going to do more artsy/messy tags - something with paint or ink or mist as the base but I'm really loving the simple tags with patterned paper and lots of layers.
  And just for you a tutorial on how to make the accordion embellishment:
 Start with 2 strips of paper - 12" x 1". Starting at the end fold a piece over approximately 1/2"
 Continue to fold the pieces over - back and forth - accordian style. Do the same with the other piece.
 Adhere the sides together
 You will be left with this awkward accordion circle thing. Punch a circle - I used 1.25"
 Fill the circle with glue - I used glossy accents - I strongly recommend hot glue (if you aren't worried about acid free - is hot glue acid free? I don't know - but it is WAY easier because it dries super fast. Take the accordion circle and push the center together and adhere to the circle - I put a little bit of glue in the center to help hold it together.
 Cut a second circle and adhere to the other side. Ink with distress ink and there you go! In the tag I made I layered a second 1" circle on top and then a sticker.
 So here it is - Day 2 of the Halloween tags. And this one comes with a tutorial! Want to see all the tags in one place? Click here. Enjoy and come back tomorrow for another tag!
 Supplies - shipping tag, paper pad (this one is Spook Alley from Making Memories), ribbon, adhesive, Making Memories Slice, Glimmer Mist, cropadile, distress ink (spiced marmalade).
 Start by gluing the shipping tag to the back side of the paper you would like to use. Cut the tag out.
 Using the slice cut out bat shapes using the same patterned paper as the tag. You can use any die cut machine to do this or hand cut them if you are really talented! Cut them at different angles on the paper so that all your bats won't be flying at the same angle!
 Adhere only the body of the bats to the tag - I lined my text on the bats up with the text on the paper (the exact words didn't line up) - leave the wings free and push up so they look like they are flying out of the text
 Use distress ink to ink the edges of the tag and the wings of the bats - this helps them stand out a bit.
 Cut a phrase out of patterned paper - ink the edges and adhere to the bottom of the tag.
 Flip the tag over and cut the hole out with a hole punch
 I sprayed the whole tag with glimmer mist at the end. I used old lace because it leaves a shimmer without adding color to the tag. I could have done this before adhering the bats but I didn't think of it until after - plus I like how the wetness of the glimmer mist causes the distress ink to bleed a bit. I used the heat tool to dry it
 Add some orange ribbon and you are done! If you like my blog be sure to "follow me" with google friend connect - located on the top right side of the screen.